Friday, September 14, 2012

Trombone Notes


When I saw the Brass paper from Moxxie's Musically Inclined paper line, I knew I had to use it in some way for spirit bags for my niece. She is in her high school marching band and will at some point during football season give spirit bags filled with goodies to her squad. Last year she didn't want her mom or I to do anything for her bags. This year she wants something cool. Getting her to tell us what that is is a different story. (She's 15 - that should explain it.) Every idea we throw out to her has gotten shot down. I did get her to agree to a notepad covered with paper. This is what I came up with:
I had these little notepads in my stash.  I cut 2 pieces of chipboard 1/4 inch longer than the length of the pad and 1/2 inch wider than the width. My pads are 3x5.  I covered one side of each chipboard with the Brass paper and used CTMH pepperwood cardstock on the other side.  On the back inside cover, I created a little pocket for the notebook to slide into.  I didn't want this notebook to be a one time use type of thing when all the paper is gone.  I used 3/4 inch wire to bind the book with my Bind-It-All.  The trombone on the front is from the Cricut Quarter Note cartridge (my niece plays trombone).  I cut the trombone from gold cardstock I got from Hollo's Papercrafts and backed it with juniper and pepperwood CTMH cardstock.  The letters from "notes" is cut out using My Favorite Things Die-Namics By The Letters.
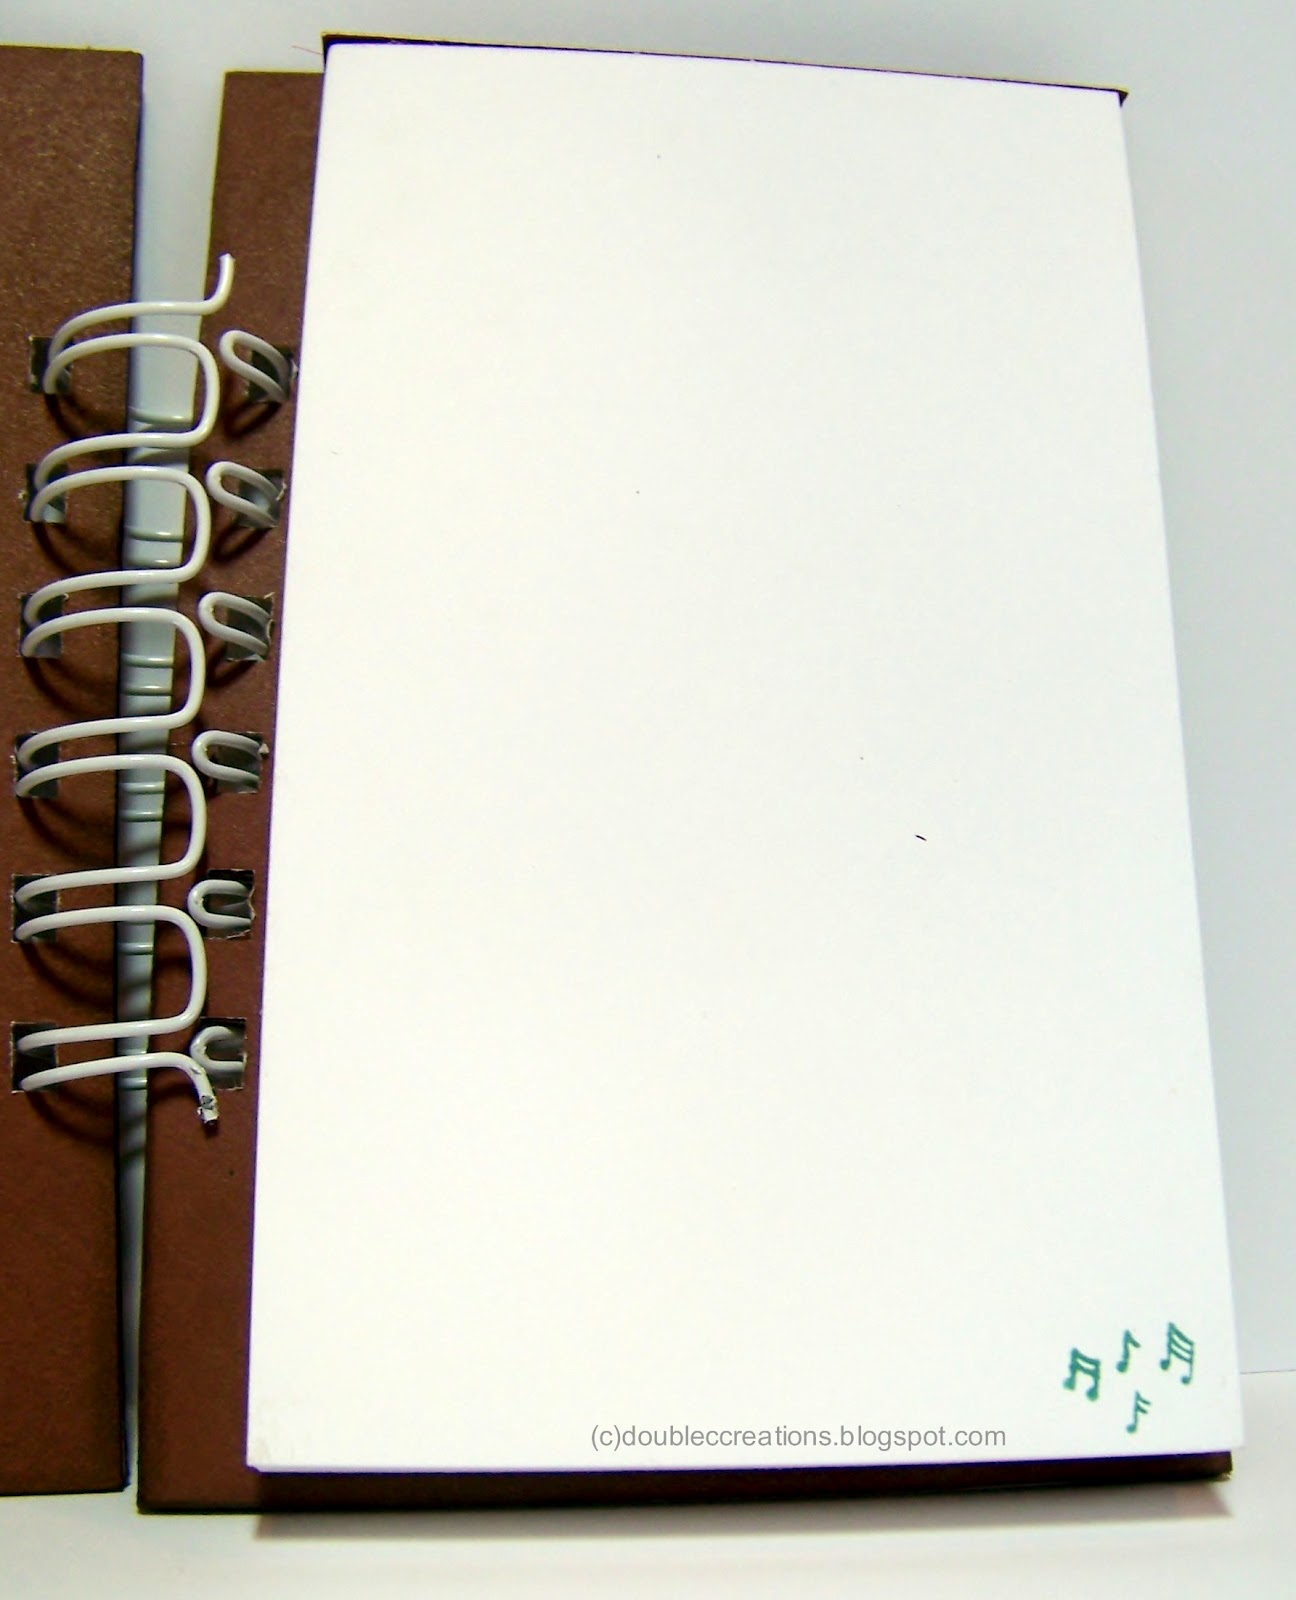
I stamped each page of the note pad with the music notes from the Pure Innocence Christmas Caroler stamp set in juniper CTMH ink.  I only had to make four notebooks so it wasn't so bad.
 
My niece seemed to like these.  I hope they make it into the spirit bags.  If you have any other inexpensive ideas (besides candy) that high schoolers would like for their spirit bags, let me know.
 
Supplies
Chipboard
Moxxie Musically Inclined Brass
CTMH cardstock - juniper and pepperwood
notepad
Gold cardstock
Cricut Quarter Note cartridge
MFT By the Letters die
PI Christmas Caroler music notes
Bind-It-All wire
Rhinestones
 
Thanks for looking!
Carol

Pin It!

Friday, August 17, 2012

Shhh, It's a Secret - Password Book

We made this cute little internet password book for a friend's birthday. The book itself was all handmade. Cardboard was cut to 9 x 5 1/2 and covered with paper from CTMH. The cover paper was cut an inch bigger than the cardboard so that it could be wrapped around the cardboard.  The front was decorated with ribbon before a complimentary piece of paper was cut to about a 1/2 inch smaller than the cardboard and placed on the other side of the cardboard to cover up the edges of the cover paper. (You can see a little bit of this on the picture of the tabs below).
 
The pages were created using Word and printed on a 8 1/2 x 11 cardstock (front and back) then cut in half. 
An SU! punch was used to create the tabs and CTMH letter stamps were stamped to make the index. Here is where you can see a bit of the greenish diamond paper on the inside back cover of the book.  Be sure to attach your ribbon before covering the inside back if you want to tie your book closed. 
This is a picture of the back cover.  The book was bound together using a bind-it-all.  (Have had the machine for years and never used it!!) Ribbon was tied to the coils.
My Favorite Things Pure Innocence girls were stamped on 1 1/2 inch squares and colored using Copics.  A bit a glitter was added to them and to the background paper.
SU! and CTMH ribbon was used as embellishments along with a strip of paper from the back cover.

If anyone is interested in the Word file for the pages, just e-mail and let us know.

Supplies:
CTMH paper
CTMH & SU! ribbon
MFT Pure Innocence stamps
SU! punch
Copics
Glitter
Cardboard
CTMH letter stamps
Bind-It-All

Thanks for looking!
Carol and Cheryl


Pin It!

Wednesday, August 8, 2012

Misc. Cards

I made these cards years ago as a birthday gift for a friend.  I gave her a box of various all occasion cards. Only a few of my friends would I consider giving handmade cards to as I know they would appreciate them. I get most of my inspiration from Splitcoaststampers.  They are a great resource and the members are always sharing templates and new ideas.

This card was hand cut from a template I found on Splitcoast forums.  The sprinkles are brads. The cherry is from a punch then glossy accents added for shine. The cupcake wrapper is silver paper run through a paper crimper.
Just one of the many Eiffel Tower stamps that I own.
Another one that I found a directions for on Splitcoast.  For the strawberry, after I stamped it, I colored a portion with a brown marker then added glossy accents to make it looked like it was dipped in chocolate.
A simple card with hand torn edges and the Happy Birthday cuttlebug folder.
Found a template on Splitcoast and modified it a little bit to fit on the card the way I wanted it.
Very simple thank you card using old Chatterbox paper and CTMH ribbon.

Thanks for looking!
Carol


Pin It!

Wednesday, August 1, 2012

Hibiscus Digi

This card was made with another digi stamp from Beccy's Place.  She has a great selection of free digis and digis that you can buy. 

I used the Gamsol Magic or Magic Colored Pencil Technique to color this image.  Check out these great tutorials on Splitcoaststampers and Inky Antics.  One of the things I love about this technique is that the shading is automatically done for you.

Supplies:
Beccy's Place Hibiscus digi stamp
Prismacolor pencils
Gamsol
Circle Nesties
Cheery Lynn doily die
Kassie's Brocade CB folder

Thanks for looking!
Carol


Pin It!

Tuesday, July 31, 2012

Lovely As a Tree

Lovely as a tree is one of my favorite SU! sets.  It seems I use this tree stamp the most out of the whole set.  I stamped this with Memento Tuxedo black and colored with copic markers.  I then sponged color on with PTI Tye Die Duo - Chamomile and tore the edges.  The sentiment is from PTI.

In 2006 I posted two cards on Spitcoast HERE and HERE.

Supplies:
PTI Kraft
Copics
PTI Tye Die Duo - Chamomile
PTI sentiment

Thanks for looking!
Carol
Pin It!

Saturday, July 14, 2012

A Ladies Diary Clothespins

I saw these beautiful clothespins on Splitcoaststampers HERE.  I just loved them and had recently seen this paper at the scrapbook store.  I knew I had to make some.  ESB only had the 8x8 paper pad and not the 12x12 sheet of these lovely ladies.  I knew I could make the smaller images work.

Because the ladies are much smaller than the length of a regular sized clothespin, I first mod podged a strip of decorative paper to the clothespin.  I then cut the ladies into strips and mod podged them over top.  Once the mod podge was dry, I brushed Tim Holtz Distressed Stickles Rock Candy over top. Added the pearls, flowers from Petaloo and some rhinestones and I was done.

Thanks CntrywmnStamper for the inspiration.

Supplies:
Graphic 45 Ladies Diary
Mod Podge
Tim Holtz Distressed Stickles Rock Candy
Petaloo Flowers
Strand of pearls
Rhinestones

Thanks for looking!
Carol

Pin It!

Lucille Ball


I made this card as a store sample for the Embellished Scrapbook Boutique.  The photo of Lucille Ball is actually a photostamp from The Stampsmith.  With these type of stamps, you need to stamp the image on glossy paper (not photo paper)  with archival ink for the best results.  I then colored the image with chalks.  For some reason, the peachy color on the flesh does not show up very well even in real life. 

I handmade the flowers using a small retro flower punch by Paper Shapers.  Just stack six flowers on top of each other with glue in the center.  Alternate the petals as you go.  On the top flower, crease each petal down the center, place glue on the petals and bend up so they meet in the middle.  You have to hold them for a bit while the glue dries.  On the remaining layers, lift each petal up to give the flower dimension. 

Supplies:
Stampsmith: Lucille Ball
Martha Stewart punches: Frond and border punch
Paper Shaper: small retro flower
Paper: Darcie

Thanks for looking!
Carol

Linked to:

Pin It!