Showing posts with label My Favorite Things. Show all posts

Sunday, July 20, 2014

Watercolor Backgrounds


All of these cards were made by either using marker to color on an acrylic block or using an ink pad to swipe across an acrylic block then taking a water brush to blend it then stamping the block on paper. 

Supplies:
Sentiment from MFT
Other stamps Technique Tuesday

Thanks for looking!
Carol
Pin It!

Wednesday, July 16, 2014

Stippled Blossoms

Made this for my supervisor's birthday.  I just started the job this year so she has never seen my handmade cards. (The ribbon actually matches the paper even though you can't tell from the picture - it is an olive green.)

Supplies used:
SU Stippled Blossoms and embossing folder
MFT banner die
PTI happy birthday stamp

Thanks for looking!
Carol


Pin It!

Monday, November 26, 2012

Christmas Cards

I saw this CARD and knew I had to CASE this card using the wisemen from the Hero Arts Heavens Rejoice set.  I did not have the full set to use, though; I had a teacher's set that Hero Arts sent to The Embellished Scrapbook Boutique so I had to use a different sentiment on the front of the card.  I used MFT Fishtail dies.  I used a Tim Holtz script stamp on the white fishtail.  The larger white is a glitter paper.  I had a request for 70 of these cards.  The same person also bought 70 of my nativity cards last year:
I used the Hero Arts Greatest Gift set for this card.  For the yellow, I used a piece of cardstock with a circle punched out and sponged CTMH Buttercup.
 
Supplies used:
Hero Arts Heavens Rejoice, Greatest Gift
MFT Fishtail dies
 
Thanks for looking!
Carol


Pin It!

Friday, September 14, 2012

Trombone Notes


When I saw the Brass paper from Moxxie's Musically Inclined paper line, I knew I had to use it in some way for spirit bags for my niece. She is in her high school marching band and will at some point during football season give spirit bags filled with goodies to her squad. Last year she didn't want her mom or I to do anything for her bags. This year she wants something cool. Getting her to tell us what that is is a different story. (She's 15 - that should explain it.) Every idea we throw out to her has gotten shot down. I did get her to agree to a notepad covered with paper. This is what I came up with:
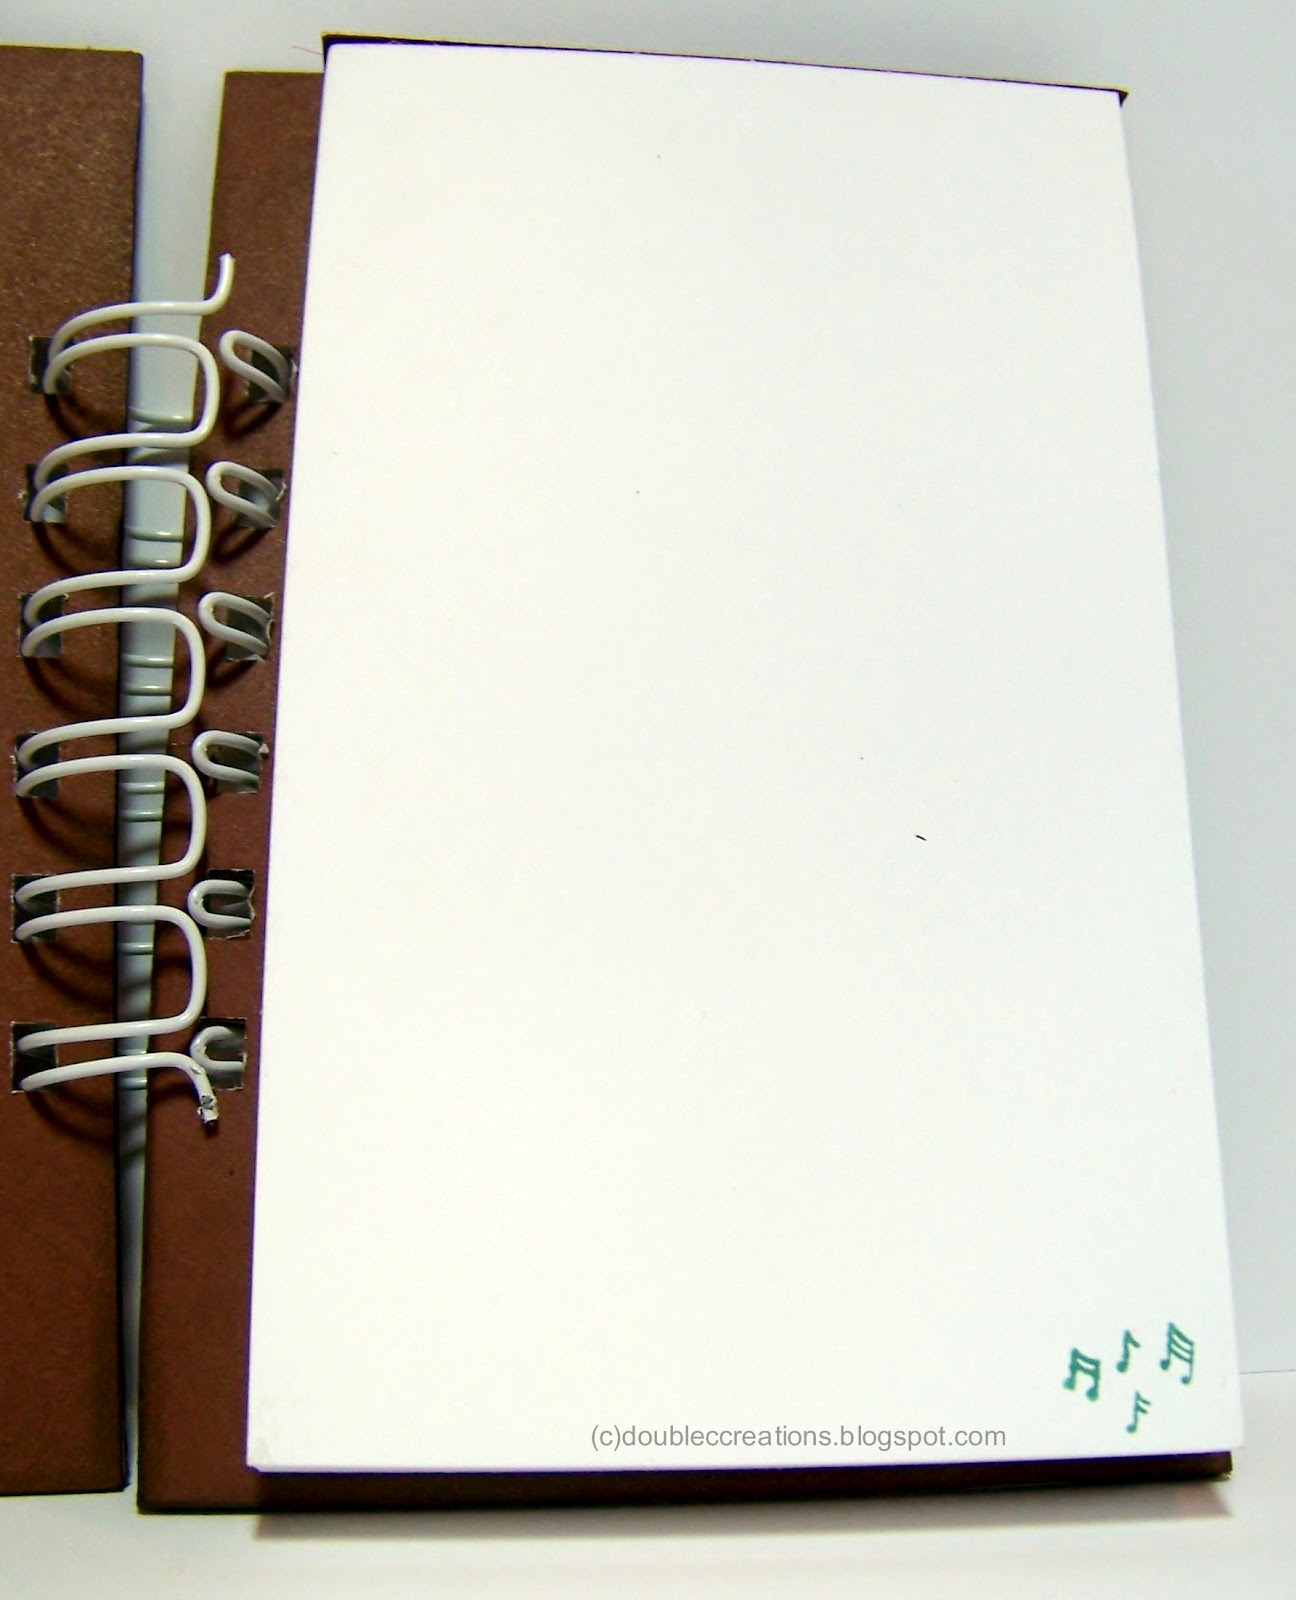
I had these little notepads in my stash.  I cut 2 pieces of chipboard 1/4 inch longer than the length of the pad and 1/2 inch wider than the width. My pads are 3x5.  I covered one side of each chipboard with the Brass paper and used CTMH pepperwood cardstock on the other side.  On the back inside cover, I created a little pocket for the notebook to slide into.  I didn't want this notebook to be a one time use type of thing when all the paper is gone.  I used 3/4 inch wire to bind the book with my Bind-It-All.  The trombone on the front is from the Cricut Quarter Note cartridge (my niece plays trombone).  I cut the trombone from gold cardstock I got from Hollo's Papercrafts and backed it with juniper and pepperwood CTMH cardstock.  The letters from "notes" is cut out using My Favorite Things Die-Namics By The Letters.
I stamped each page of the note pad with the music notes from the Pure Innocence Christmas Caroler stamp set in juniper CTMH ink.  I only had to make four notebooks so it wasn't so bad.
 
My niece seemed to like these.  I hope they make it into the spirit bags.  If you have any other inexpensive ideas (besides candy) that high schoolers would like for their spirit bags, let me know.
 
Supplies
Chipboard
Moxxie Musically Inclined Brass
CTMH cardstock - juniper and pepperwood
notepad
Gold cardstock
Cricut Quarter Note cartridge
MFT By the Letters die
PI Christmas Caroler music notes
Bind-It-All wire
Rhinestones
 
Thanks for looking!
Carol

Pin It!

Friday, August 17, 2012

Shhh, It's a Secret - Password Book

We made this cute little internet password book for a friend's birthday. The book itself was all handmade. Cardboard was cut to 9 x 5 1/2 and covered with paper from CTMH. The cover paper was cut an inch bigger than the cardboard so that it could be wrapped around the cardboard.  The front was decorated with ribbon before a complimentary piece of paper was cut to about a 1/2 inch smaller than the cardboard and placed on the other side of the cardboard to cover up the edges of the cover paper. (You can see a little bit of this on the picture of the tabs below).
 
The pages were created using Word and printed on a 8 1/2 x 11 cardstock (front and back) then cut in half. 
An SU! punch was used to create the tabs and CTMH letter stamps were stamped to make the index. Here is where you can see a bit of the greenish diamond paper on the inside back cover of the book.  Be sure to attach your ribbon before covering the inside back if you want to tie your book closed. 
This is a picture of the back cover.  The book was bound together using a bind-it-all.  (Have had the machine for years and never used it!!) Ribbon was tied to the coils.
My Favorite Things Pure Innocence girls were stamped on 1 1/2 inch squares and colored using Copics.  A bit a glitter was added to them and to the background paper.
SU! and CTMH ribbon was used as embellishments along with a strip of paper from the back cover.

If anyone is interested in the Word file for the pages, just e-mail and let us know.

Supplies:
CTMH paper
CTMH & SU! ribbon
MFT Pure Innocence stamps
SU! punch
Copics
Glitter
Cardboard
CTMH letter stamps
Bind-It-All

Thanks for looking!
Carol and Cheryl


Pin It!

Monday, April 23, 2012

Quick Graduation Cards


These graduation cards were quick and easy to make.  The congratulations circle is a free digi stamp from Scrap-a-licious-times and the mortar board and diploma are also free digital stamps (source unknown).  The images were colored with Copics and accented with glossy accents.  They were then cut with a circle nestie and mounted onto a scalloped circle nestie.  Tim Holtz bricked embossing folder was used on the white background and the letters were cut out using MFT By the Letters.

If you have never used digital stamps, you should give them a try.  There are tons of free stamps available on-line here: Free Digital Stamps Blog. 

Supplies:
Tim Holtz Bricked EF
My Favorite Things By the Letters
Circle and Scalloped Circle Nesties
Digital Stamps: Scrap-a-licious-times and unknown


Thanks for stopping by!
Carol and Cheryl

Pin It!

Sunday, March 25, 2012

Easter Basket


I saw this cute little Easter basket on Splitcoaststampers and knew I had to try to make one for myself.  Unlike the one on Splitcoast, I did use adhesive to hold everything together.  It was too taxing on my brain to figure out how to do it without. 

I glued together two MFT picket fences by overlapping one of the pickets.  Fold after every 9 pickets to make a box.  There will be one picket left over that you will overlap and glue to the first picket to complete the box.  I then cut a 3 1/2" square and scored at 1/4" on all sides to make the bottom.  Fold sides up and put adhesive around the edges and fit inside the picket fence.  I used Martha Stewart punches for the grass, handle and butterflies.  The vine is a Poppystamps die.  I colored the Pure Innocence My Basket of Eggs girl with Copics and cut out.  I cut the bunny out of a scrap of Bella Blvd. paper.
I made this while I was at the Embellished Scrapbook Boutique and did not have anything to fill the basket.  I borrowed the eggs, chick and grass from another teacher (unbeknownst to her - Marianne, you can have it all back!) so that I could complete my project.  The store owner decided she is going to use it as a project this week when she has her MRDD class.

Supplies:
My Favorite Things picket fence, Pure Innocence My Basket of Eggs
Martha Stewart punches: Doily Lace Trim Deep Edge, 3 in 1 Classic Butterfly, Grass Edge
Poppystamps Ivy Tendrils
Copics

Thanks for looking!
Carol

Linked to:

Pin It!

Tuesday, December 20, 2011

Pure Innocence Shadow Box


We created this shadow box as a Christmas gift for one of our friends.  She is a fan of My Favorite Things Pure Innocence stamps (and so are we).  This was a fun project to create.

We started off by painting the shelf with a couple coats of black acrylic paint then spray sealing it when it was dry.  The cardstock squares were then applied with Modge Podge with one coat underneath and two coats on top.


Each girl was stamped on a white square, colored with copic markers then paper-pieced with patterned paper.  They were then glued on to a piece of chipboard and cut out after dried. Foam squares were placed on the back then put into the frames.


The wording was done on the computer (fonts Arial Narrow and Pea Alicia Script) then printed out on cream cardstock. A die was used to cut it out.  A glue pen was used to trace around the edge of the cut out then glitter was adhered.  Foam squares were placed on the back then put into the frame.  The dog has a double layer of foam squares so that it is popped higher than the die.  The crystals were attached with liquid glass.

Supplies:
Shadow box from Dollar Tree
black acrylic paint
spray matte sealer
CTMH paper - crystal blue, sweet leaf, seafoam, cranberry, buttercup, autumn terracotta, indian corn blue, shell pink
Modge Podge - matte
Crystals
Pure Innocence stamps - Being Cute is What I Do, I Get a Kick Out of You, Christmas Stocking Girl, Out on a Limb, Feeling Froggy, Popping By, Christmas Caroler, dog from Snow Adorable
MFT Die-Namics Framed Greetings die
Basic Grey Picadilly 6x6 pad
chipboard
glitter
foam squares
CTMH liquid glass

Linked to the following parties:


Pin It!